
Custom Bullet Point Lists in WordPress
If you’re having trouble figuring out how to create custom bullet point lists in WordPress websites and blog posts, you’ve come to the right place.
Bullet points are a key part of conveying clean information in WordPress websites. Website layout and design have evolved from basic text into things of beauty. Putting things in lists allow visitors to quickly view a site and better absorb the message conveyed. In other words, it creates a desirable presentation.
After an exhaustive search we were able to compile a list that can help you create a custom bullet point list in WordPress without the need for a plugin or custom program.
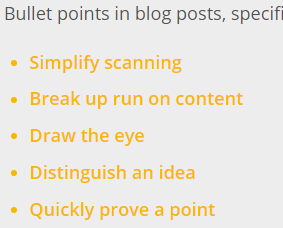
Bullet points in blog posts, specifically in WordPress, have become popular for a number of reasons:
- Simplify scanning
- Break up run on content
- Draw the eye
- Distinguish an idea
- Quickly prove a point
It’s easy to establish the importance of bullet points in WordPress blog posts and website design, but let’s get back to the challenge that first set us on this path.
CUSTOMIZED BULLET POINT LISTS IN WORDPRESS
There are a lot of ways to create custom bullet point lists in WordPress. We’re going to go through a few different options based on various levels of experience and WordPress comprehension.
Child Themes
When you want to make changes within your theme, it’s best to use a child theme. The reason for this? If your theme gets updated, you won’t lose your changes. If you want more information on setting up a child theme in WordPress, look here. Since this is how we operate at Lion Tree Group, we’ll be using a child theme the rest of the way here.
Note: I can’t stress enough the importance of child themes in utilizing custom CSS in a special stylesheet due to concerns with overwriting, but if it doesn’t work for you, there may be an opportunity to seek a solution from the theme author directly. Before making changes to CSS, be sure you have FTP access to the hosting server and make a backup copy of the CSS file in the event you’ll need to restore it.
Bullet Point Lists are a Sub-level of your Main Theme
The standard style of bullet point lists is controlled by your theme. In order to change that style, you’ll need to know how your theme controls the standard bullet points.
The style for your bullet points will show up as a subsection of the style of your main content. Most themes (including Twenty Twelve) will probably classify the overall content as “entry-content”. In other words, they will create a specific class called “entry-content,” and then reference that name (entry-content) in the CSS stylesheet.
Of course, there’s also a chance your theme calls it something else, so start the process by finding out how your theme references the CSS class.
Locating the Content Class Name
To find the content class name, simply go to a post on your page and right-click anywhere on the page and click “View Source”.
New pick a a few words from that page and search the code for those specific words or phrases. Once you’ve found them, you’ll see the content class name for your theme.
I did this on our theme for www.LionTreeGroup.com and found our class to be “entry-content”. Here’s what it looks like in one of my posts:
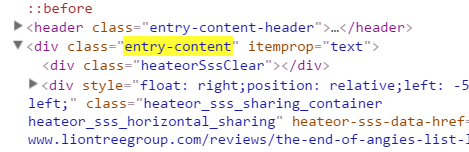
*There is a chance your theme is more complex, like ours, and you’ll find several classes. Just keep trying them until you find one that works.
HTML Code for Bullet Point Lists
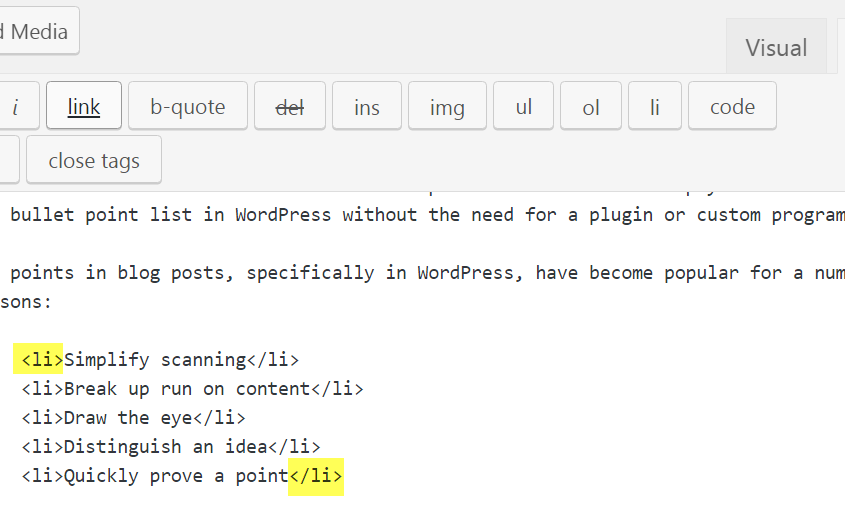
A WordPress bullet point list is create using two different tags.
First there’s the <ul> tag. “UL” stands for “unordered list,” as opposed to <ol> — which stands for “ordered list.” An unordered list will not be numbered (it will have bullet points). An ordered list is a numbered list.
The next tag in a bullet list is the <li> tag. This stands for “list item”. You can easily toggle between the visual and text areas of a post by click the tabs at the top of the text box for your post.
Control the Appearance with Custom CSS
We’re getting closer to an actual custom bullet list. Remember again, you’ll need to activate and utilize your child theme. Next, go to the stylesheet section in your child theme: Appearance –> Editor –> Stylesheet – style.css.
Reference back to the content name for your theme. In my case, this was “.entry-content”. This is what I’ll be using in the examples below.
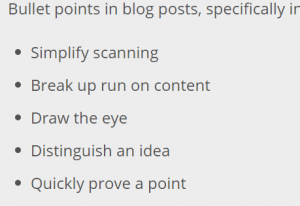
For starters, let’s look at the default style sheet for bullet lists in my LTG child theme. From there, we’ll gradually build it up to a fully custom list.
Here’s the default look for the Lion Tree Group theme.
Changing the Default Font
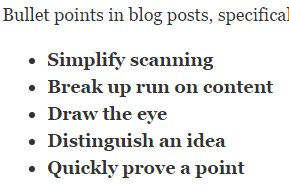
One of the easiest things your can do in the text area is change the font weight. With the following CSS you can quickly make the font bold for a list using:
.entry-content ul li{ font-weight: bold; }
Here’s the result.
Of course you can change the color too. As a dramatic example, we’ll change the list to bright green by adding “color: #fab700;”
.entry-content ul li{
 font-weight: bold;
 color: #fab700;
}
And here’s how it looks.
Add Different Styles
Now we can start changing the bullets themselves. Let’s begin by changing the solid circles to open circle ring bullet points by adding this bit of CSS code: list-style:circle;
My CSS code now looks like this:
.entry-content ul li{ font-weight: bold; list-style:circle; }
.entry-content ul li{
 font-weight: bold;
 list-style:circle;
}
And this is the result.

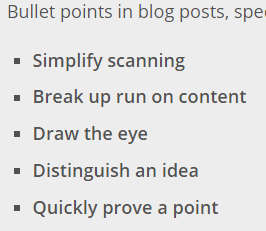
You can also change those empty circles to square by changing
list-style:circle;
to
list-style:square;
And here’s the result.
There are other values that you can use with the “list-style” property, many of which apply to using number lists (ordered lists). You can find more info on those here.
Images as Bullet Points
You can also add images as your bullet points. The way to do that is to add the following line of CSS code:
list-style-image:url(url-of-your-image);
So, for example, if keeping the font bolded, your CSS code would look something like this:
.entry-content ul li{ font-weight: bold; list-style-image:url(https://www.liontreegroup.com/4diamonds-2); }Here’s a look at an image that I uploaded.
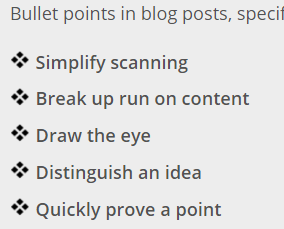
It looks pretty good, but you’ll notice that the alignment of the image is a little off. The images appear to be a little too high. If that happens to you, you can take a different approach to using images. Instead of using the “list-style-image” property, you can use the image as a background. That will allow you to then move the image around to get it looking right.
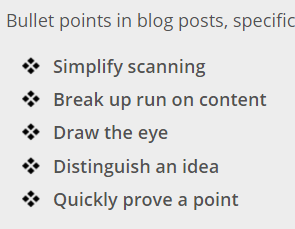
Because we’re using the image as a background, we’re going to need indicate that we don’t want a “normal” bullet point. In order to do that, we’re going to use “list-style-type: none;” in addition to the background CSS code.
The code I ended up putting into my CSS file looked something like the below. The 5px number is what I played with until it looked right. Of course your image probably won’t be off in exactly the same way mine was, so you’ll have to play with things yourself until it looks right.
.entry-content ul li { font-weight: bold; list-style-type: none; background: url(https://www.liontreegroup.com/4diamonds-2) no-repeat 7px 5px; margin: 0; padding: 0px 0px 3px 35px; vertical-align: middle; }And here’s the result.
Adding Unicode Characters
Something else you may want to try for bullet points is Unicode characters. Unicode characters are things like ☻ … ╫ … ✽.
As mentioned above, by putting in “list-style-type:none;” it removes the normal bullet point. And so that’s what you will need to do here. (Again, we don’t want the normal bullet points showing up. We’re going to replace those with a Unicode character.)
We’re also going to add a different property that will indicate that the character should go before the list item.
Here’s a look at using the ♠ character as a bullet point.
.entry-content ul li { list-style-type: none; font-weight: bold; } .entry-content ul li:before { content: "♠"; padding-right: 5px; }And here’s how it looks.

If you’d like to make the character a different color from the text, then just add the color property to the top section to change the text color, or add the color property to the bottom section to change the bullet point color. Or, of course, you can add color properties to both.
In this example, I’ve added the color property to both.
.entry-content ul li { list-style-type: none; font-weight: bold; color: #fab700; } .entry-content ul li:before { content:"♪"; padding-right: 5px; color: #33333; }And here’s the result.
As you can see, you don’t use special code in your CSS file to get a Unicode character. Just copy the Unicode character itself and paste it into your CSS code.
You can find a list of these symbols here. That’s a long list, so here are a few of the more popular ones: arrows, box drawing, block elements, geometric shapes, miscellaneous symbols, and dingbats.


