
How to use Photoshop AI
Artificial intelligence (AI) has been in the news a lot lately as it is becoming more available to the public. It is slowly being implemented into many creative apps, including Photoshop. So what does Photoshop’s new AI do? There are a few incredible new features that can save you time as well as increase your editing abilities. The smart selection tool is now much more accurate and makes removing backgrounds from subjects easier than ever. Another extremely useful feature is the generative fill and expand tools. With these tools you can generate anything within a photo, or even use it to expand the size of a photo. But how do we access these features? We have to enable Photoshop Beta.
Enabling Photoshop Beta
In order to access any of the new advanced AI features, you first must enable Photoshop Beta. First open your Creative Cloud app and make sure you’re running the latest version. Then, within the lefthand panel of the Creative Cloud app, under Categories, select “Beta apps.” Click “Install” on Photoshop (Beta). Once this is finished installing, you will have a new app called Photoshop (Beta).
Getting started with Photoshop AI
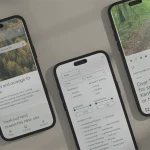
You may notice a few new things in the Photoshop Beta app. One of the most apparent new features is a floating toolbar that will give you contextual functions. We will be using this toolbar to test out some of the new features.
Subject Selection/Background Removal
Removing a background is one of the tasks that is much more intuitive now. To use this feature, open a photo with a subject you’d like to remove. In the new toolbar you will see an option to “select subject” and another to “remove background.” Remove background allows you to quickly place a subject on a new background.


Generative Fill/Expand
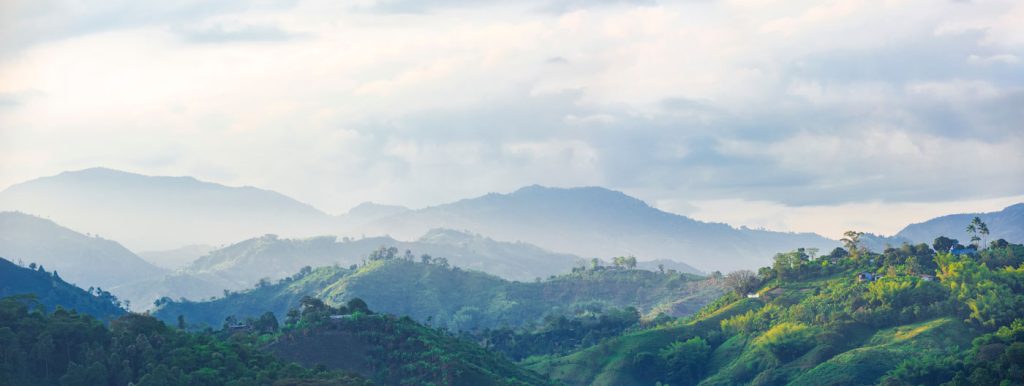
Using the new generative fill feels like magic when you are using it, but it does have its limitations. The main function of this tool is to add or remove items from photos using AI image generation. In order to use it, select an area on a photo using the Lasso tool or Marquee tool and select the “Generative Fill” button from the floating toolbar. Here you can type in what you would like to fill the selected area with, or you can simply leave the field blank to fill the area based on the rest of the image. Below are some examples of what you can do with the generative fill. As you can see, it doesn’t always fill in the way you would expect, sometimes it completely misses and sometimes you have to try a few times to get it right.
Original Photo
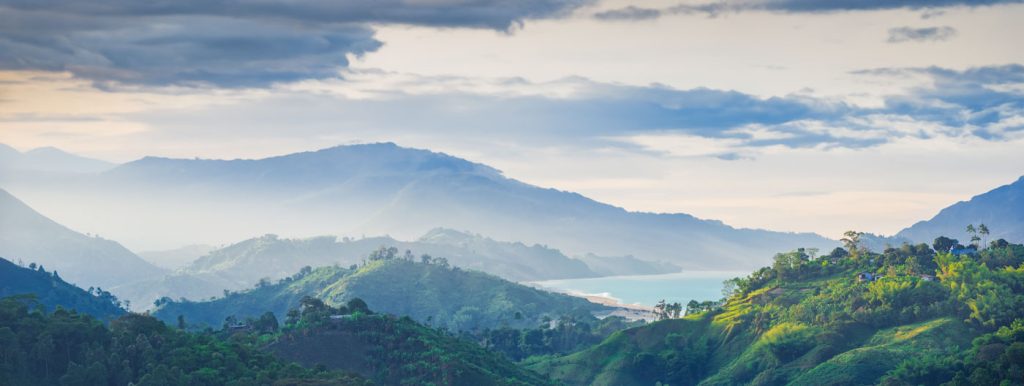
Prompt: add a beach

Prompt: remove the clouds
Prompt: add a village

Prompt: add a UFO

Prompt: make sky clear
![]()
There are so many possibilities with this new tool. You can add pretty much everything, but be aware that there are many situations where you may receive undesired results. Depending on what outcome you’re aiming for, it may come down to a lot of trial and error.
Tips
Be specific
When using the generative fill, be specific about what you want to achieve. Using vague terms will result in much more variability and you can end up with some very strange looking things.
Select smaller areas
In order to maximize accuracy, select a specific area in which you want to generate something. In the example, selecting the area on top of the hill before generating the village made sure that it would only generate within the boundaries of the hill. Additionally, using the Lasso tool allows you to draw a specific shape to fill. For example, here we drew a triangle and asked it add a pyramid. Thanks to our triangle-shaped selection, it added only the pyramid and did not overfill the outside area.

Watch out for irregularities
The generative fill tends to return some unintended results, such as random items floating in the sky or missing/extra items where they shouldn’t be. This can be fine if it is a small item in the background, but the closer you look, the more irregularities you may notice.

Keep track of your layers
New layers will be added above the previous layer with each generation performed. It is important to keep the same order in which they were created or they will not overlap correctly. One good way to do this is to name your layers so that you know which one contains which generated item.
Overall, Photoshop’s new tools are very useful. Even though they have some limitations, the software is still in it’s beta period and will only get better over time.


