
Sender failed our fraud detection checks and may not be who they appear to be | Office 365 | Contact Form 7 | GoDaddy
![]()
So this is a new problem we are seeing come across from some of our GoDaddy customers who also were using Office 365 Exchange for Email. Some of our contact form submissions from the websites were being marked as spoofing from Office 365.
Our Products involved included:
- Godaddy Shared Hosting
- Contact Form 7
- Office 365 Business Premium
After countless hours on the phone with Godaddy and changing TXT records to include SPF for Godaddy’s servers, translating email headers, adding whitelisted email server IP’s………..we came upon the real easy solution to solve this.
Solution for Fraud Detection Checks in Office 365 and Contact Form 7 with GoDaddy Hosting
Here are the steps to solve this issue:

Log into Office 365 as Administrator.
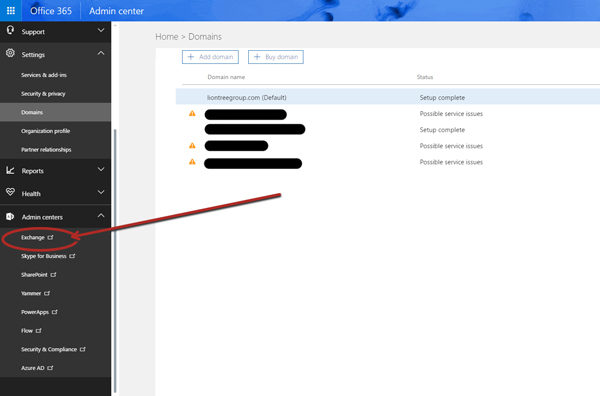
We want to check the DNS settings first to eliminate any other issues you may have with your DNS settings. Navigate to Settings-Domains
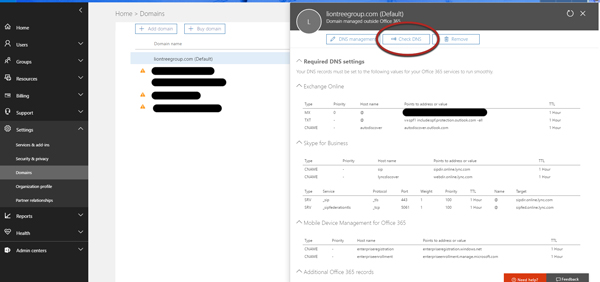
Select the domain with the Fraud detection and Check the DNS settings using the Office 365 Tool. If you pass the test and have all the necessary DNS records then we proceed to the next step.
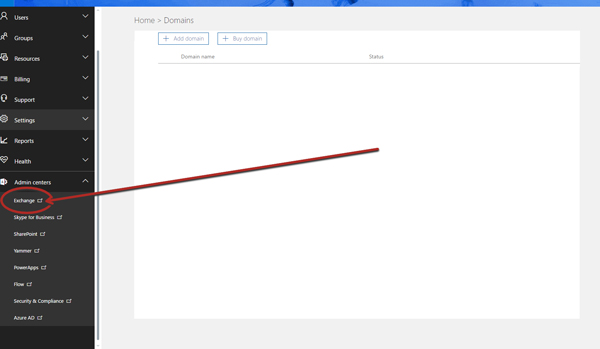
Next, we Navigate to Admin Centers-Exchange to bring up another window for the Exchange Admin Center
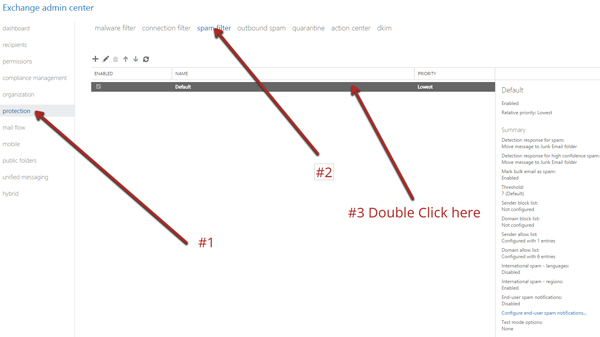
Navigate to Protection-Spam Filter and double click on the Default bar to open up a window.
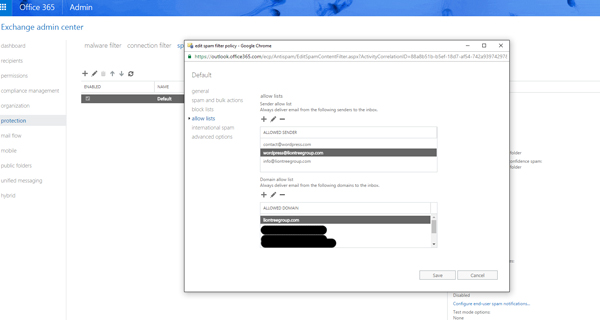
In the new window we want to select the Allow Lists options. We want to add the emails that we use to send the contact form emails to the recipients. We normally use the email address wordpress@ or info@ to send the contact form requests. Add those emails in the allowed Sender. It would be a good idea to add the domain in the allowed domain also. You do this by clicking on the + to open up a new window.
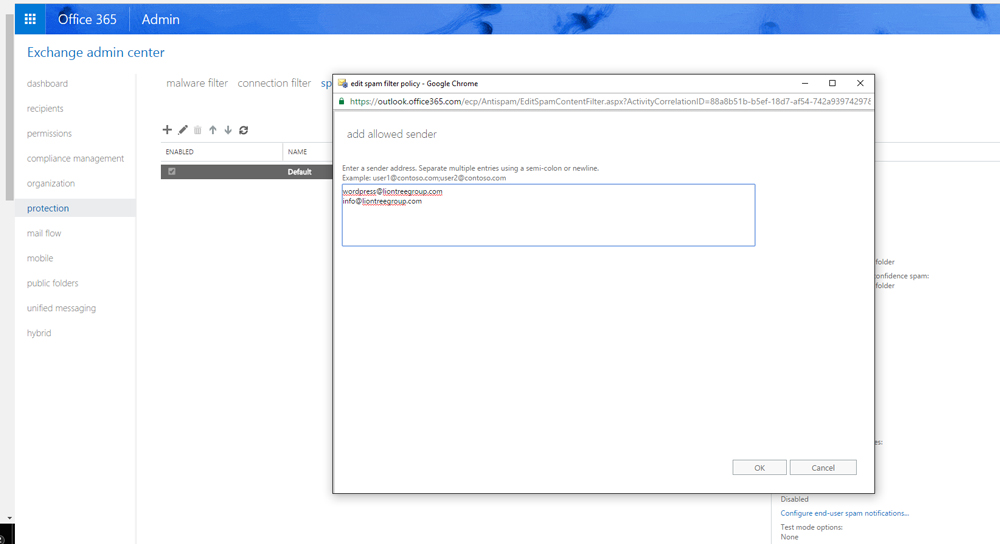
Don’t forget to hit OK and the Save.
Boom, should solve the problem.


